How to create a craft space in your home
We are back after the hangover of the Epiphany gifts, full of illusion and eager to try all those little things that the Magi from the East have brought us. And as many handyman will have received tools, craft supplies or DIY kits of the most varied, we decided to start this 2016 with a post about ideas to create a craft space at home.
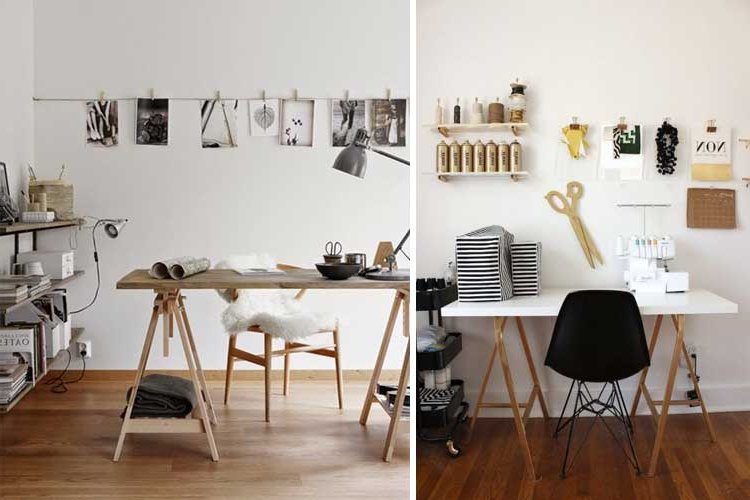
It is a fact that those people with an artistic spirit and attraction for the handmade world can't stop creating. Whether we are fans of sewing, scrapbooking, working with clay and other craft modalities, we all invade every corner of the house and extend our art and disorder to the common areas. If we live alone, "pas de problème" as the French say, but if this is not the case, we must create our own space where we can work comfortably without turning the whole house into a workshop.
The creation of a specific craft space, in addition to respecting the common areas of the house, will prevent the deterioration of these rooms by spilling paint cans, glitter, various adhesives and a long etcetera that we can handle with peace of mind in our creative space.
That said, each elf to his workshop, let's see how to create a craft space at home and what tips we can take into account to get the most out of it and create a comfortable area to work.
1. Large space and central island
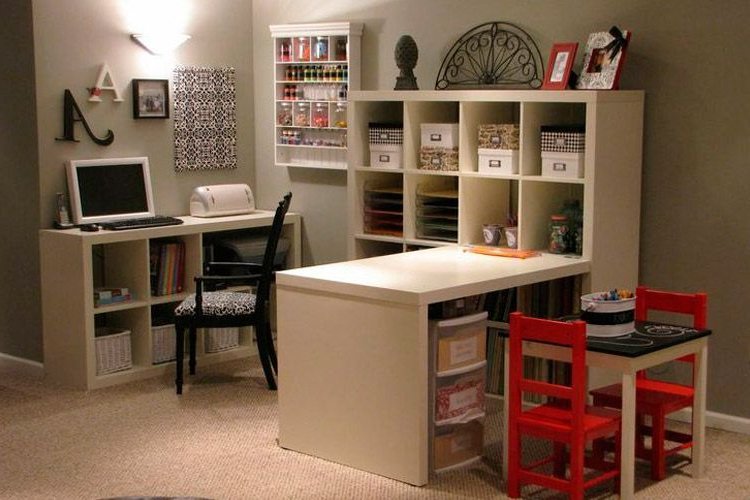
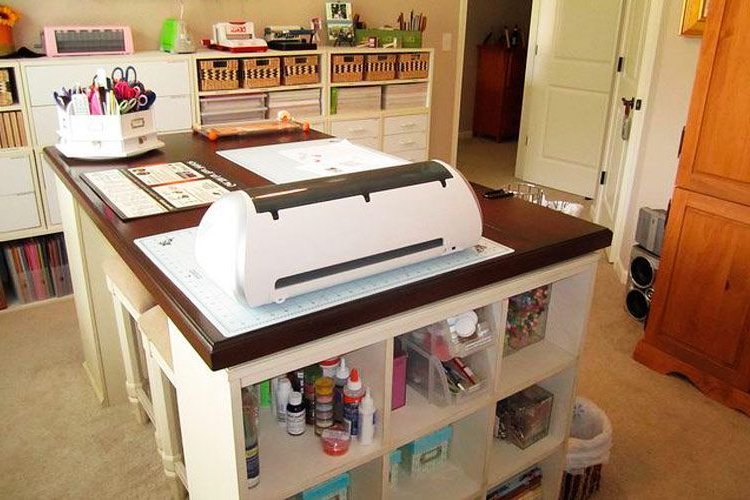
The most ideal when working with crafts would be to have a room for us and enjoy a large space where to place a table or central island around which to place the rest of the storage furniture for our materials. The most advisable thing is to keep it clear and to avoid as far as possible to locate in it the desktop computer. In this way we will have a comfortable work surface with enough space to manage.
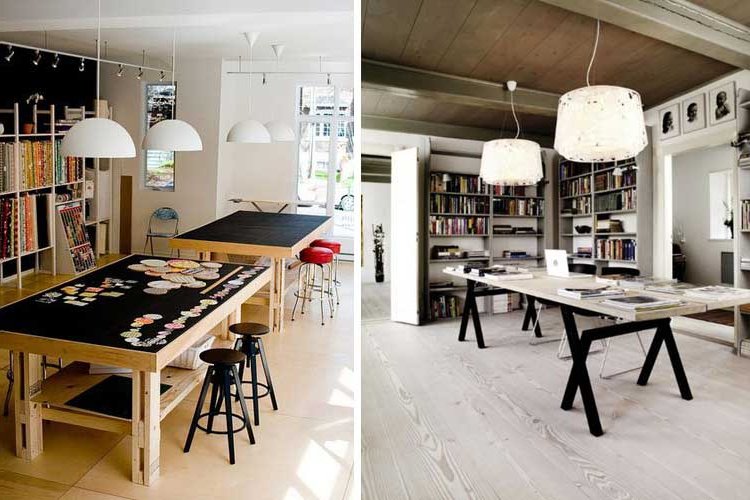
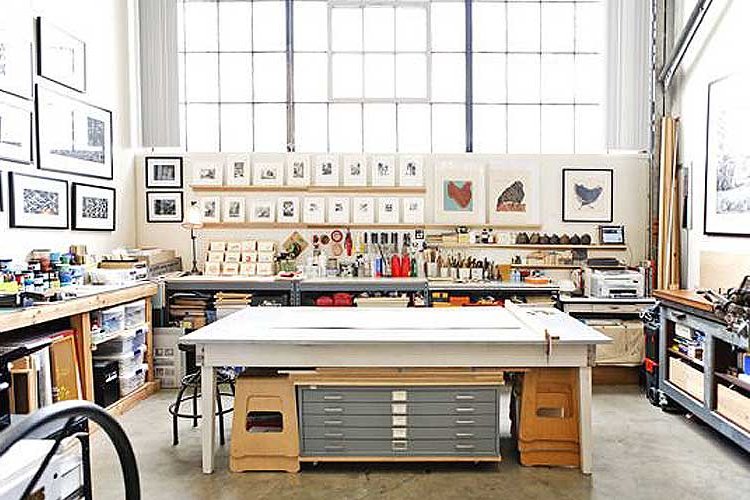
2. Front or L-shaped table
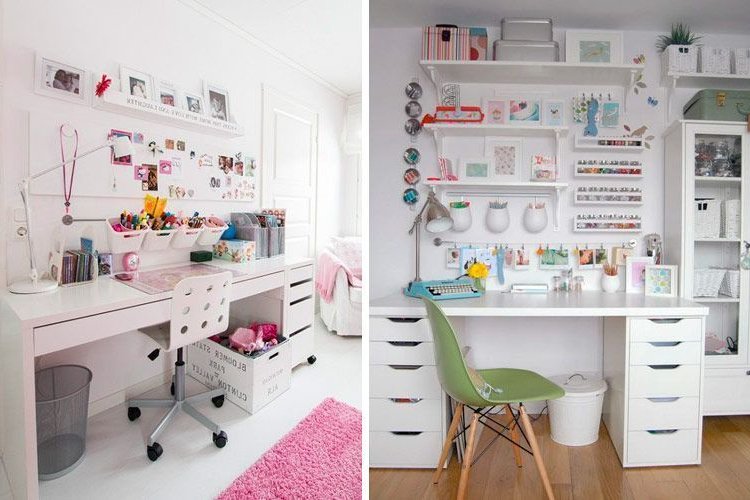
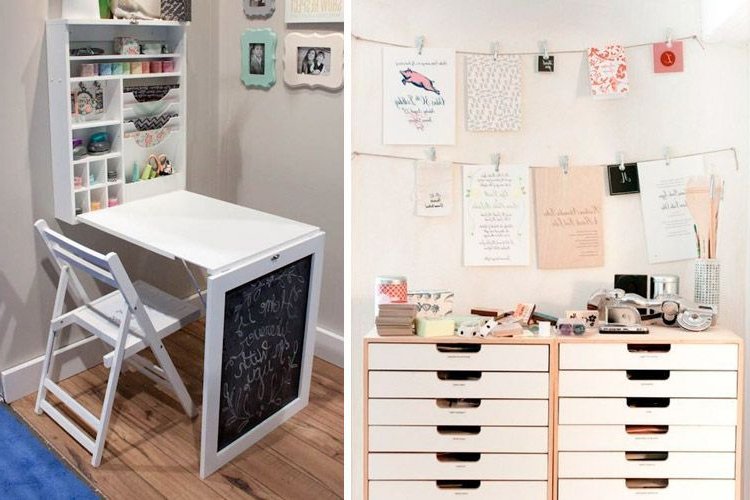
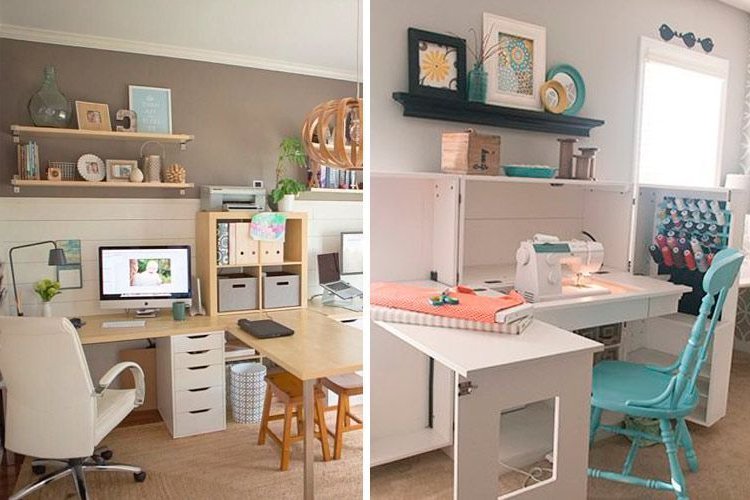
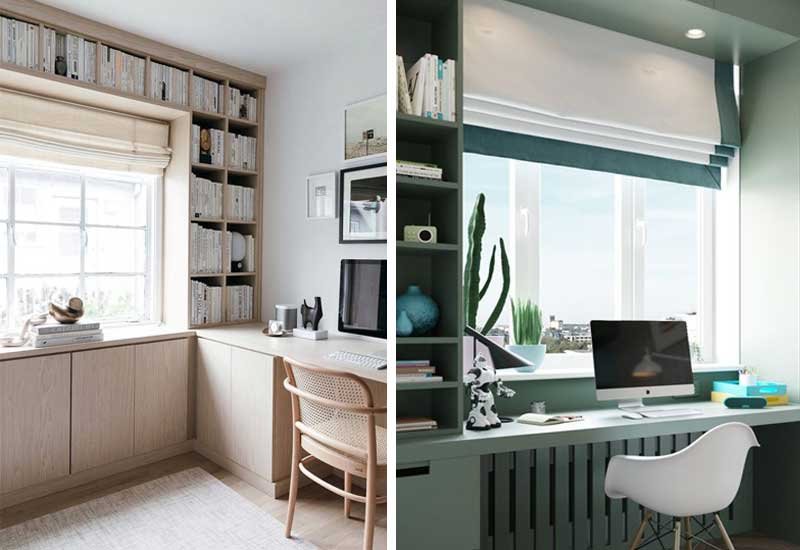
If we do not have our own room or if we have a small apartment, we can set up a specific corner as a workspace. In it we will place a desk, either as a front table against the wall or an L-shaped table, the two most recommended arrangements to work in a comfortable way.
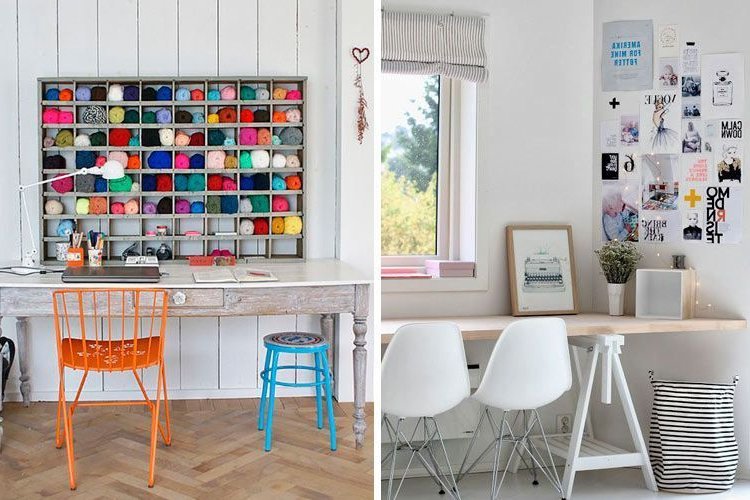
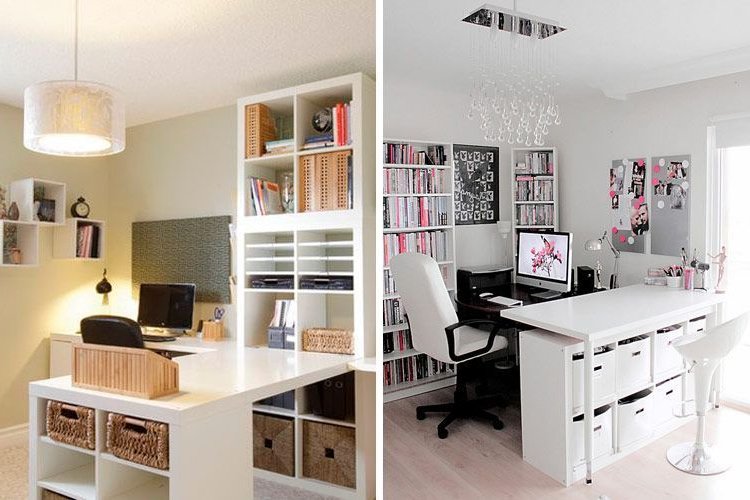
Furniture
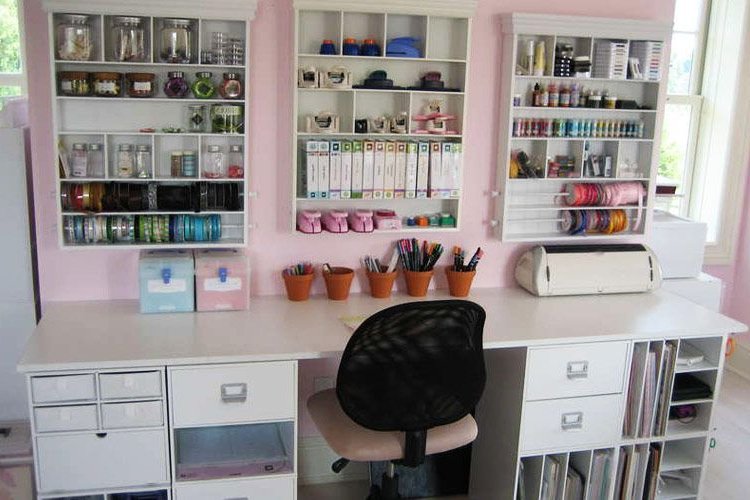
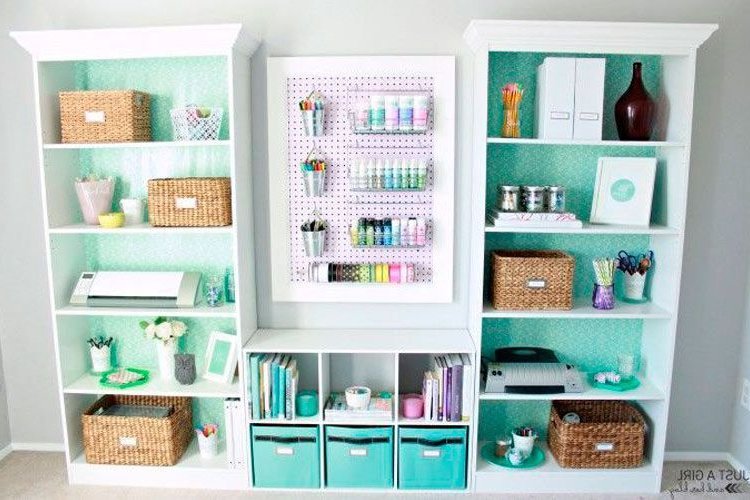
As furniture we will need a table, drawers of different proportions depending on our material and very basic shelves, which we will arrange around or next to the table.
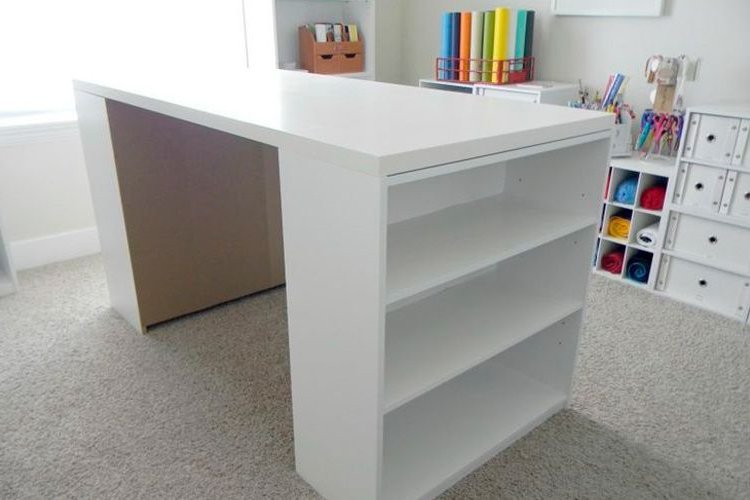
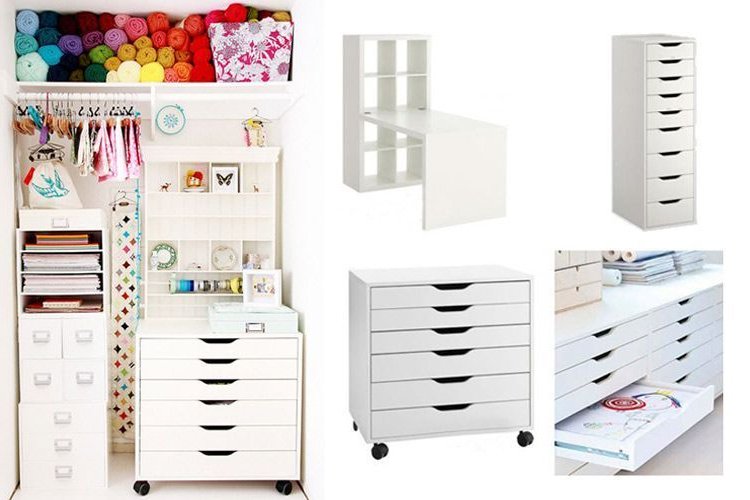
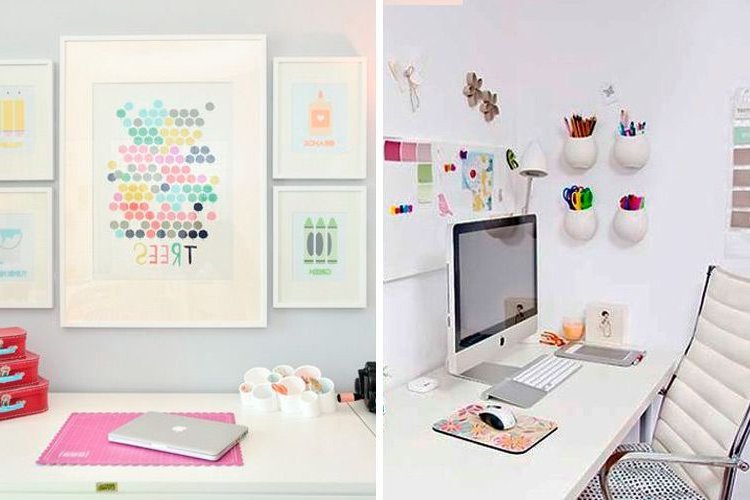
It is also advisable to keep the front wall relatively clear and store the material at the bottom or on the sides of our space to allow us some air or free space. We can place here some decorations or inspirational images, but always prevailing a light space in the front.
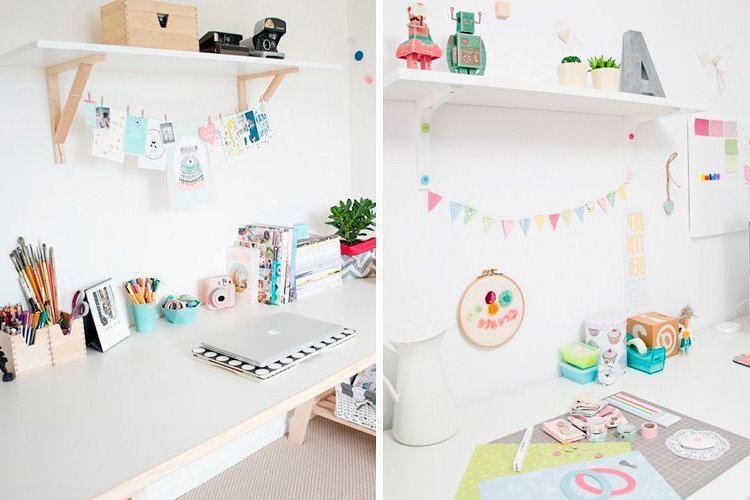
Another very practical and useful option is to use the front as a storage space, which allows easy access to the material. In this case, the ideal is to have panels with holes to hang all kinds of tools, tools and materials. If this option does not suit us, we can also place loose hooks on the wall to generate the same effect. Of course, with order and harmony ;-)
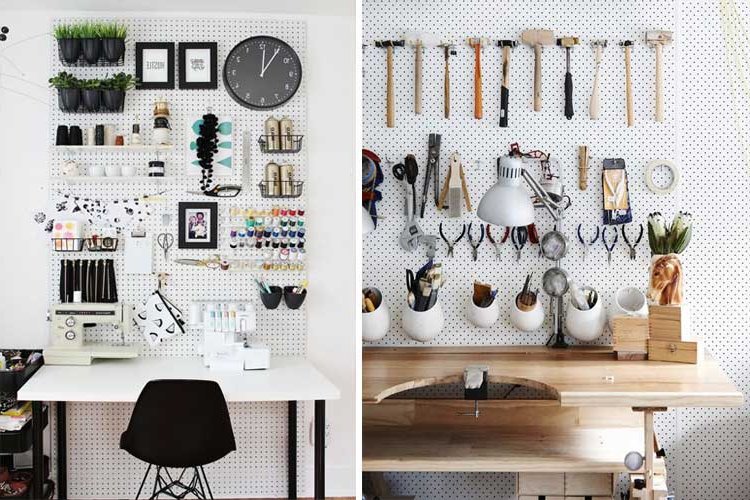
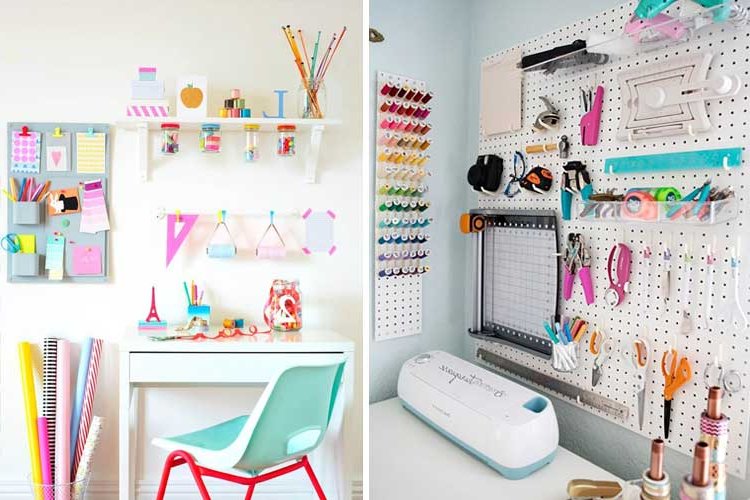
4. Desk Basics
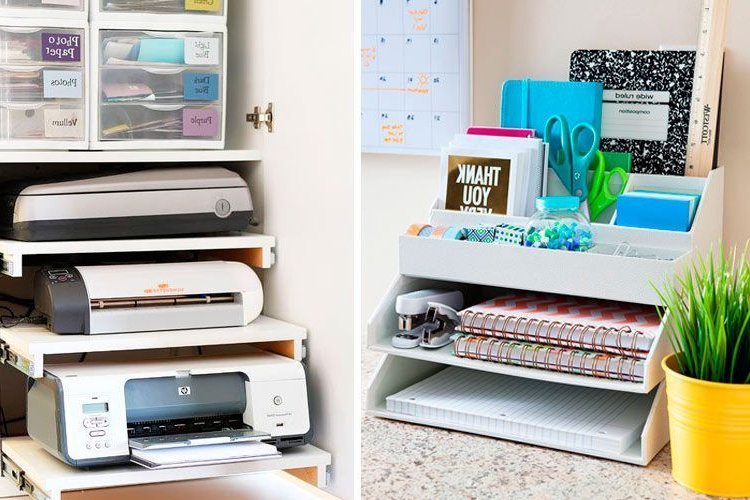
On the table we will place the most recurrent and essential craft material, to have it always at hand without collapsing storage. The rest of the material will be placed in drawers and shelves.
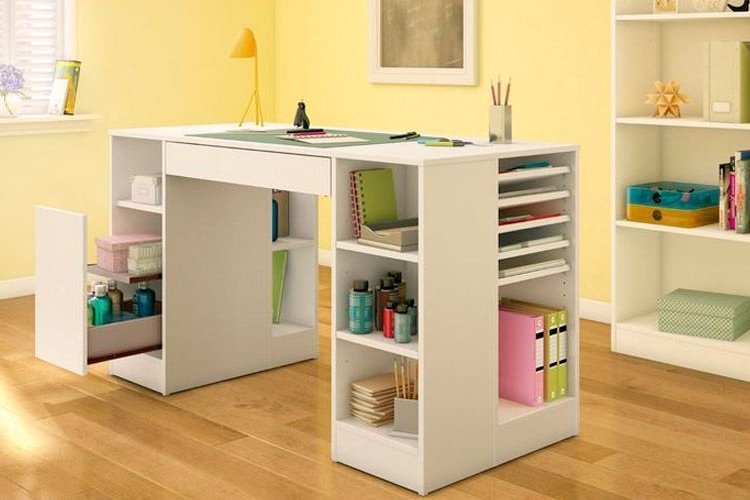
On the table we will place a couple of very basic desk pieces for pens or notepads and we will place the computer and the printer in an adjacent table module (the L-shaped table format is ideal for this purpose, as it provides two different working angles).
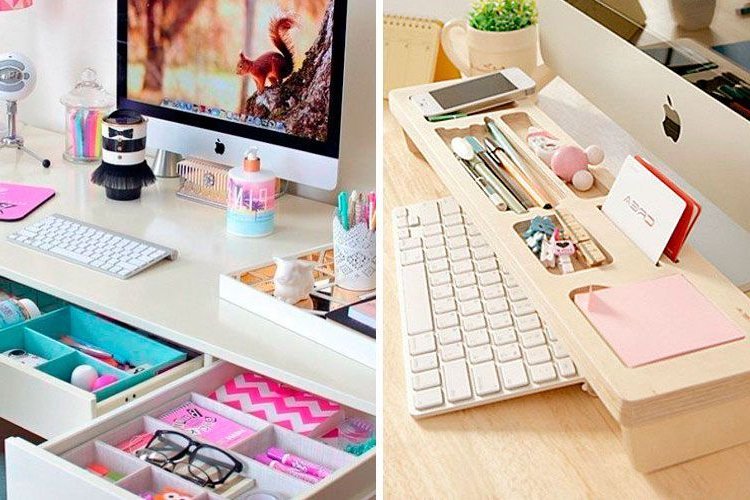
5. Specific storage
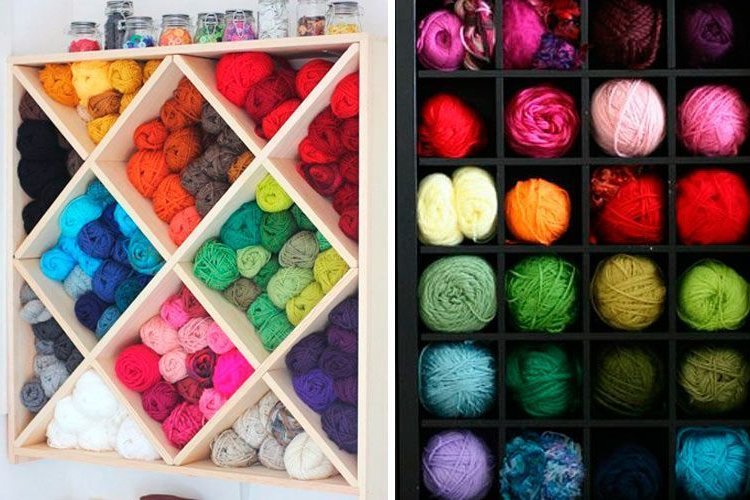
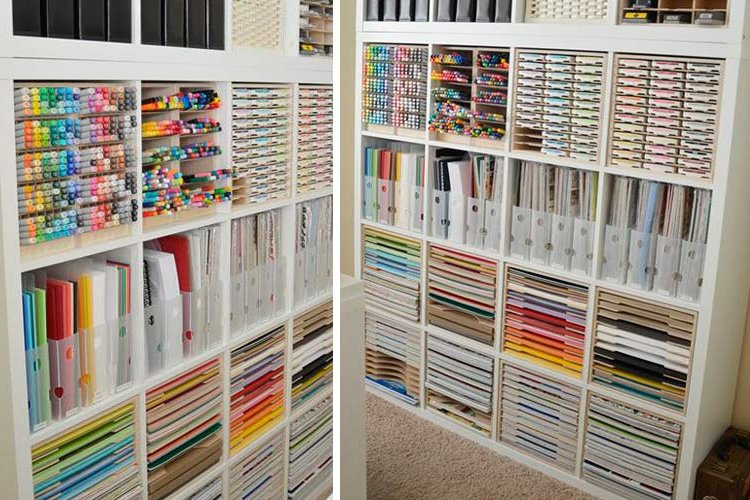
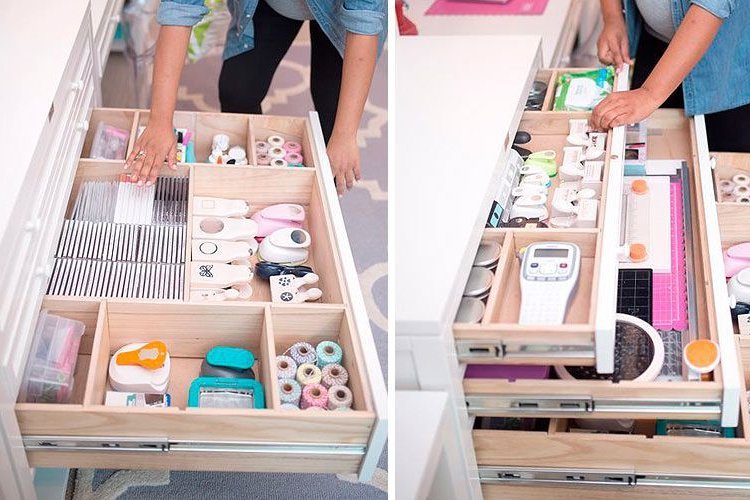
Once we have the furniture configured, it is time to adapt it intelligently to the materials we will be working with, so that everything is well organized and at the same time acts as a visual catalog that can be easily managed when we open the drawer. Grids for markers, subdivisions based on methacrylate boxes for scissors and cutters or simple kitchen organizers with wooden divisions are some useful ideas.
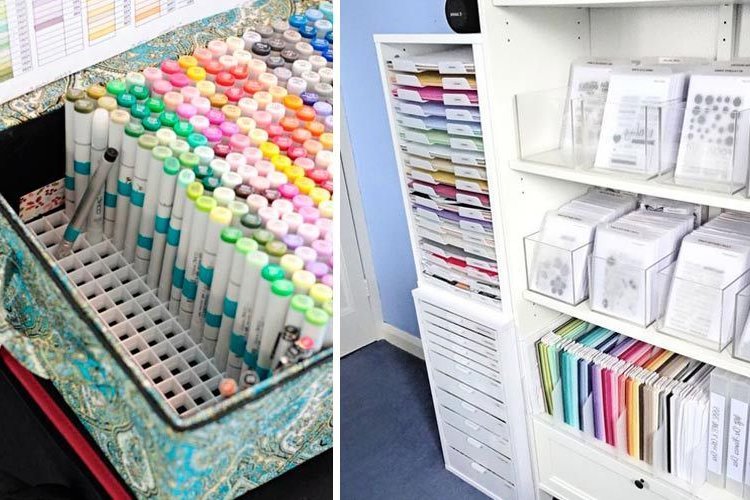
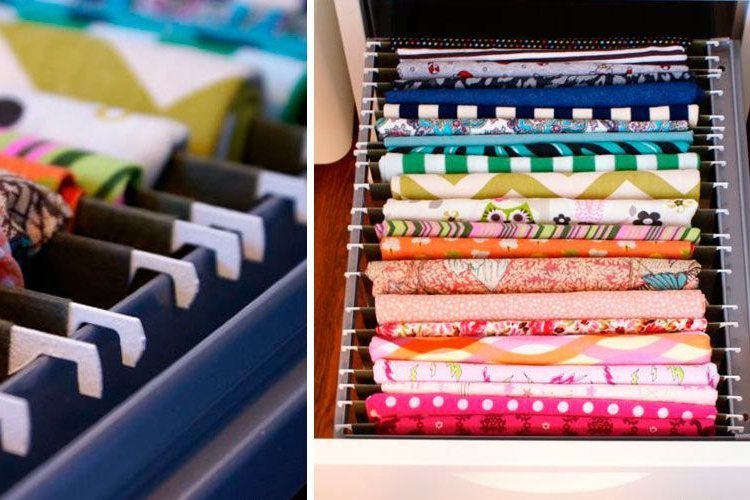
You can also reuse classic pull-out filing systems to display your textiles, although we recommend choosing neutral or transparent pieces so that they do not detract attention from the materials and you can easily locate them when looking for them.
So far these tips to create a craft space for you to develop all your imagination in a practical and organized way. Let's see some more examples of how to solve our creative corner ... and let's create!
